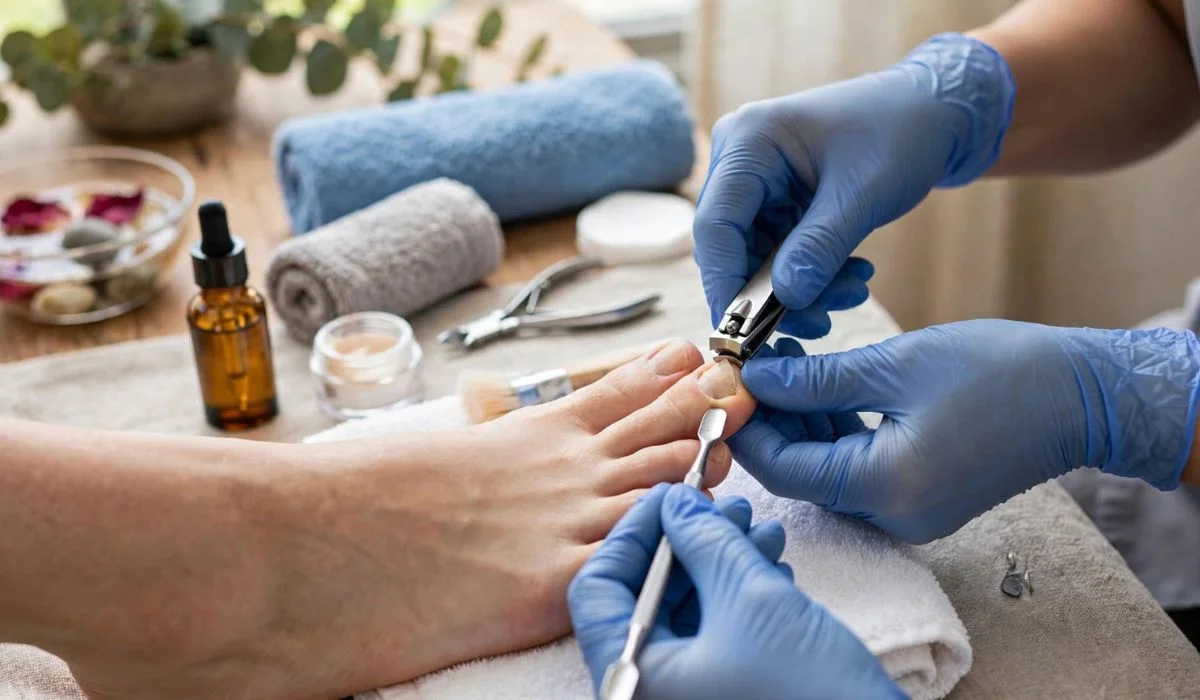
How To Give A Pedicure | Easy Step-by-Step Guide for Beautiful Feet
Giving a pedicure at home is a simple way to clean, refresh, and groom your feet without making a salon appointment. A complete pedicure involves much more than painting toenails. The process can include cleansing, soaking, nail trimming, shaping, cuticle care, exfoliation, heel smoothing, moisturizing, and polish.
You can create a relaxing pedicure with a small basin, clean nail tools, a foot scrub, moisturizer, and your favorite nail color. The secret to a good result is to work slowly and treat the skin and nails gently.
Set Up Everything Before You Begin
A little preparation makes the pedicure easier. Choose a clean, comfortable area where you can sit without having to stretch or bend awkwardly.
Place your supplies on a clean towel or tray.
Pedicure Supplies Checklist
For a basic home pedicure, gather:
- Toenail clippers
- Nail file
- Nail buffer
- Cuticle pusher
- Cuticle oil
- Foot scrub
- Pumice stone or gentle foot file
- Mild soap
- Warm water
- Clean towel
- Foot cream
- Nail polish remover
- Cotton pads
- Base coat
- Nail polish
- Top coat
You can skip products you do not need. A simple pedicure can be effective without a large collection of beauty products.
How To Give A Pedicure | Easy Step-by-Step Guide for Beautiful Feet:

Begin With Clean Feet
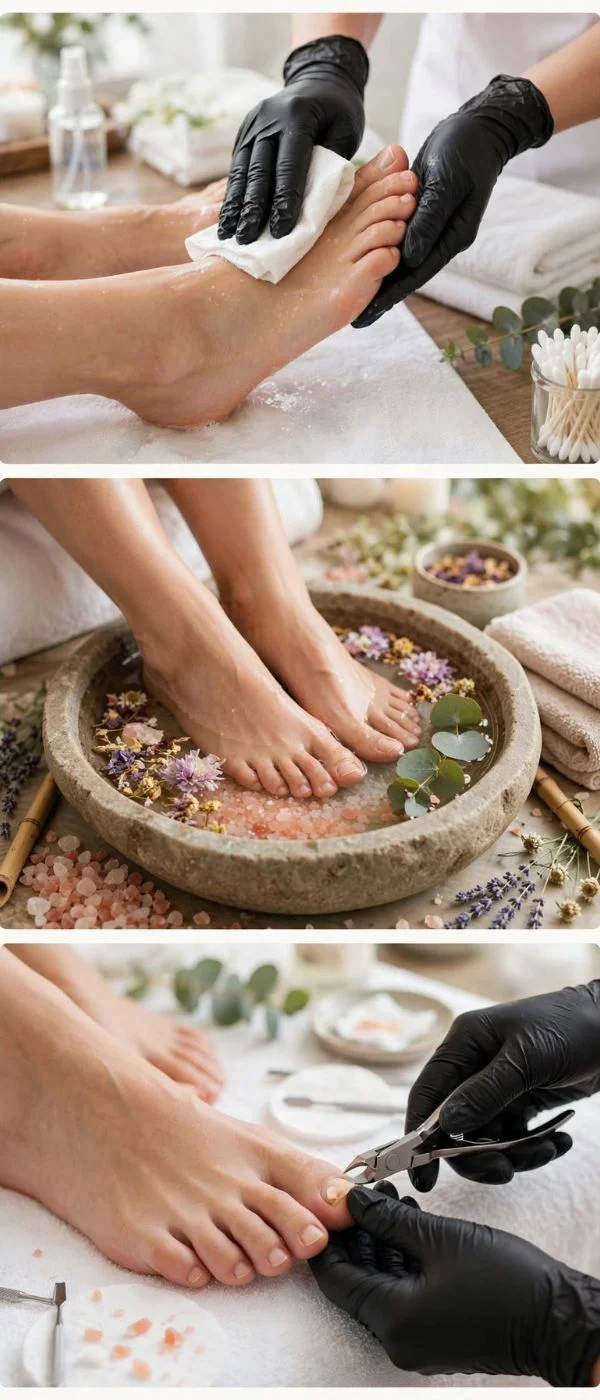
Wash your feet with comfortably warm water and mild soap before beginning the main treatment.
Clean around the toenails, soles, heels, and between the toes.
Dry Carefully
Use a clean towel to dry your feet.
Pay special attention to the spaces between the toes. A pedicure should leave the feet clean and comfortably dry before you move on to nail care.
Remove Existing Nail Polish
If your toenails already have color, remove it first.
Use a cotton pad and nail polish remover to gently dissolve the old polish.
Check the Nails Before Repainting
Removing the old color gives you an opportunity to look at the natural nails.
Pay attention to unusual changes in color, shape, texture, or surrounding skin rather than automatically covering everything with fresh polish.
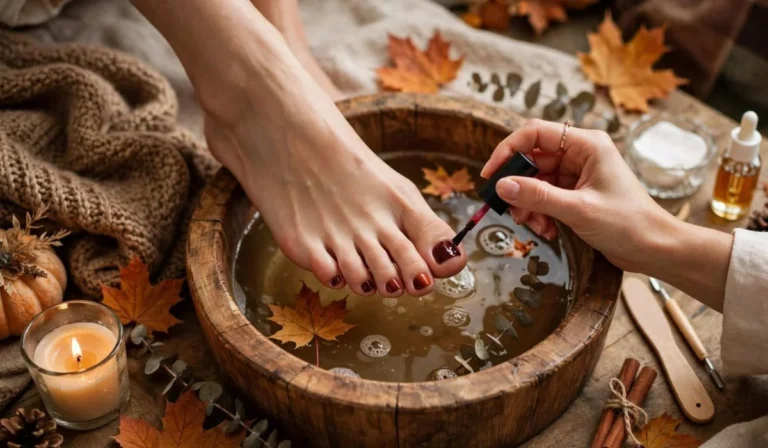
Create a Warm Foot Soak
Fill a clean basin with comfortably warm water.
Place your feet in the water for approximately 5 to 10 minutes.
The soak helps soften the skin and makes the pedicure feel relaxing.
Keep the Temperature Comfortable
The water should feel pleasantly warm rather than extremely hot.
You can add a small amount of mild soap if desired. A complicated foot-soak recipe is not necessary for a basic pedicure.
Towel Dry Before Nail Work
Remove one foot at a time or take both feet out of the basin and gently pat them dry.
Avoid immediately clipping extremely softened nails if you cannot see the edges clearly.
A dry surface gives you better control when shaping the toenails.
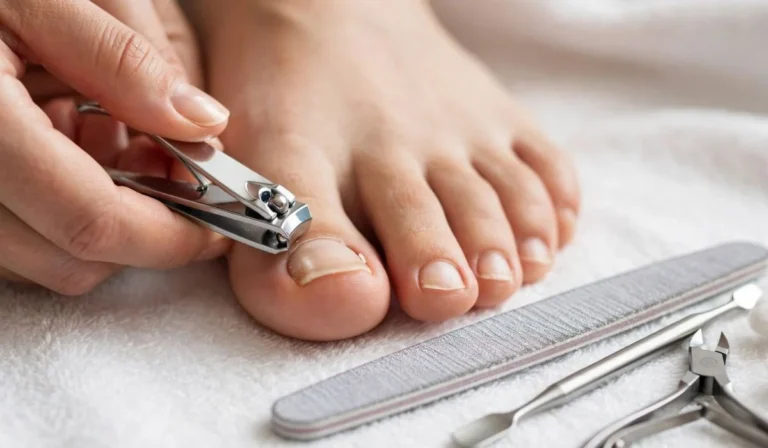
Trim the Toenails
Use clean toenail clippers to remove excess length.
Make controlled cuts instead of trying to remove a large section of nail in one movement.
Keep the Edge Relatively Straight
Avoid cutting deeply into the corners of the toenails.
Leave a small amount of nail beyond the skin rather than trimming all the way down.
The exact length is personal, but comfortable and practical is generally better than extremely short.
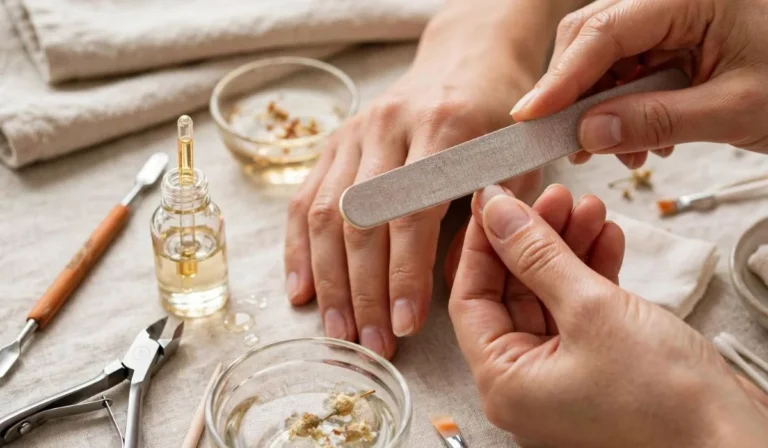
Shape With a Nail File
After clipping, smooth the edges with a nail file.
Use gentle strokes and concentrate on sharp or uneven areas.
Don’t Over-Shape the Corners
You can soften a sharp edge without deeply rounding the nail.
A natural toenail shape is usually easier to maintain and can provide a clean base for polish.
Give the Cuticles Gentle Attention
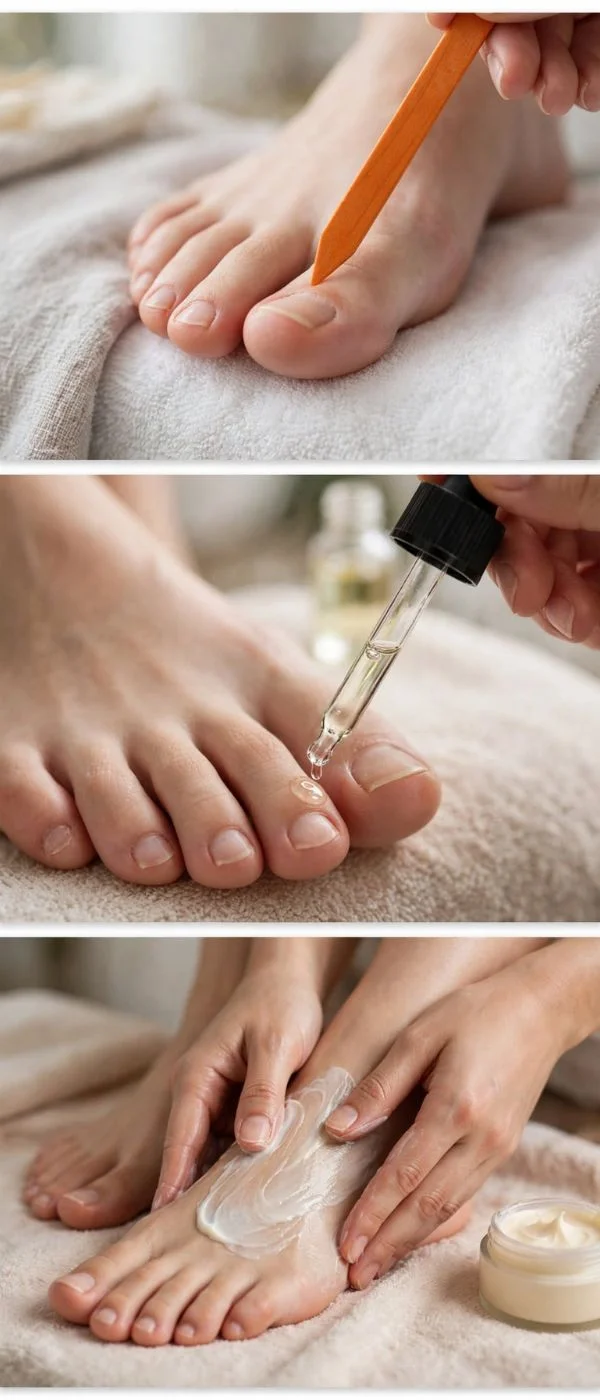
Apply cuticle oil around the base and sides of the toenails.
Allow it to soften the area before gently pushing back excess cuticle tissue if necessary.
Avoid Deep Cuticle Cutting
The cuticle area contributes to the protective barrier around the nail.
There is usually no need to remove all of it. Aggressive cutting can cause irritation or small injuries.
Exfoliate the Feet
Once your nails are shaped, focus on the skin.
Apply a foot scrub to the soles, heels, and other areas that feel rough.
Massage gently using small circular movements.
Give Extra Attention to the Heels
The heels often become rough because they experience repeated pressure and friction.
You can spend a little more time there, but do not scrub until the skin feels sore.
Use a Pumice Stone Carefully
For thicker rough areas, a pumice stone or gentle foot file can provide additional smoothing.
Use it on softened skin with light pressure.
Less Is Better
A common mistake is trying to remove every rough patch during one pedicure.
Your goal is to smooth the surface gradually, not strip away large amounts of skin.
Never use a razor or blade to cut away calluses as part of a routine cosmetic pedicure.
Rinse Away the Scrub
After exfoliation, rinse your feet thoroughly.
Remove any remaining scrub from the soles, heels, toes, and around the nails.
Dry Between the Toes
Use the towel to carefully dry between each toe.
This small step is important because moisture can remain trapped in these narrow spaces.
Massage in Foot Cream
Apply a nourishing foot cream to the soles, heels, toes, and sides of the feet.
Use your hands to massage the cream into the skin.
Try a Simple Heel Treatment
If your heels are particularly dry, apply a thicker layer of foot cream before bed and wear clean cotton socks.
Regular moisturizing can help dry skin feel softer over time.
Avoid leaving thick amounts of cream between the toes if those areas tend to remain damp.
Prepare the Nails for Polish
If you want colorful toenails, remove any cream or oil from the nail surface before painting.
The nail plate should be clean and dry.
Keep Polish Off the Skin
Position yourself comfortably so you can control the brush.
If polish touches the surrounding skin, wait until the application is finished and carefully clean the edges with a small amount of remover.
Apply a Base Coat
Start with a thin base coat.
Allow it to dry according to the product directions.
A base coat can create a smoother foundation and may help reduce staining from some highly pigmented nail colors.
Paint the Toenails
Apply your selected color in thin layers.
Begin near the base of the nail without touching the surrounding skin, then move the brush toward the tip.
Build the Color Gradually
If the first coat looks slightly transparent, let it dry before applying another thin coat.
Several controlled layers generally give you more even coverage than one very thick layer.
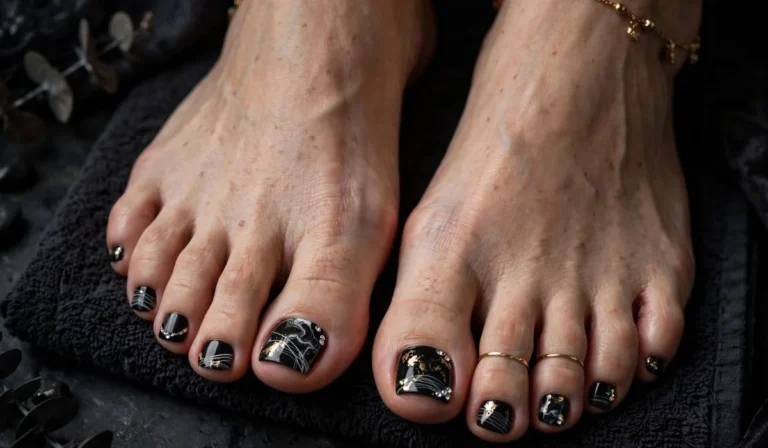
Add a Simple Pedicure Design
You can keep the pedicure minimal or add a little nail art.
Classic French Pedicure
Use a neutral or pale base with white tips for a timeless appearance.
Big-Toe Accent
Paint all the smaller toenails one color and add glitter, a French tip, or a small design to the big toenail.
Seasonal Colors
Change the palette according to the season.
Soft pastels can work well for spring, bright coral and pink for summer, earthy brown and burgundy for fall, and deep red, green, or shimmering shades for winter.
Seal the Pedicure With Top Coat
Once the color has set sufficiently, apply a thin layer of top coat.
This adds shine and provides another protective layer over the polish.
Let Your Feet Rest
Give the polish enough time to dry before putting on socks or closed shoes.
Freshly painted toenails can look dry on the surface while still being vulnerable to dents.
Clean Your Pedicure Tools
Once the pedicure is finished, clean your reusable tools according to their material and allow them to dry thoroughly.
Store them in a clean, dry place.
Don’t Share Personal Nail Tools
Clippers, files, and other personal grooming tools are best kept for individual use.
If tools are shared, appropriate cleaning and disinfection are important.
Maintain the Pedicure Between Sessions
You do not need to perform a complete pedicure every few days.
Instead, maintain the results with simple habits.
Easy Maintenance
Between full pedicures:
- Moisturize dry heels
- Keep toenails at a comfortable length
- Remove chipped polish
- Keep feet clean
- Dry carefully after bathing
- Use cuticle oil when needed
- Avoid picking at nail polish
A few minutes of regular maintenance can help extend the neat appearance of a full pedicure.
Facts About Giving a Pedicure
Toenails are primarily composed of keratin, a structural protein also found in hair and the outer layer of skin.
Toenails generally grow more slowly than fingernails, so they usually do not require trimming as frequently.
The heels and other weight-bearing parts of the feet can develop thicker skin because of repeated pressure and friction.
Exfoliation removes some surface dead skin cells, but excessive exfoliation can irritate healthy skin.
Moisturizer helps reduce dryness and supports the skin barrier, making it an important part of regular foot care.
A cosmetic pedicure is intended to improve grooming and appearance. It is not a medical treatment for infections, painful nail conditions, or other foot disorders.
Pedicure Mistakes to Avoid
Don’t Use Extremely Hot Water
Very hot water is unnecessary and can irritate or dry the skin.
Don’t Cut Nails Extremely Short
Leave a small amount of nail rather than trimming directly against the skin.
Don’t Dig Into Toenail Corners
Use the file to smooth a sharp edge instead of cutting deeply down the sides.
Don’t Scrub Aggressively
Rough skin should be treated gradually. Harder scrubbing does not automatically mean better results.
Don’t Cut Living Cuticle Tissue
Avoid aggressive cutting around the nails. Gentle care is usually sufficient for a cosmetic pedicure.
Don’t Polish Over Damaged Skin
If the skin around a nail is open, painful, or irritated, avoid applying polish to the affected area.
How Long Does a Pedicure Take?
A basic home pedicure can take approximately 30 to 60 minutes.
The exact time depends on how much nail shaping, exfoliation, heel care, nail art, and polish drying you include.
If you are giving yourself a pedicure for the first time, allow extra time rather than rushing.
How Often Should You Give Yourself a Pedicure?
The ideal frequency depends on your nails, skin, lifestyle, and personal preference.
Some people prefer a complete pedicure every few weeks, while others perform basic maintenance more frequently.
Daily or regular moisturizing can be continued between full pedicures without repeating every step.
When to Avoid a DIY Pedicure
A cosmetic pedicure is not appropriate for every foot problem.
If a toenail or surrounding skin is significantly painful, swollen, draining, wounded, or showing a major unexplained change, do not try to solve the issue with cosmetic trimming or polish.
People with conditions that affect foot sensation, circulation, or wound healing should ask a healthcare professional about safe foot-care methods.
A Simple Pedicure Routine to Remember
The entire process can be remembered as a simple sequence:
Clean, soak, trim, file, soften, exfoliate, smooth, moisturize, polish, and protect.
You do not have to perform every step perfectly. Consistency and gentle care matter more than having a professional-looking collection of products.
FAQs About How to Give a Pedicure
What Is the First Step in Giving a Pedicure?
Start by preparing clean supplies and washing the feet. Remove old polish before moving on to soaking and nail care.
How Long Should I Soak My Feet?
Around 5 to 10 minutes is generally enough for a basic home pedicure. Use comfortably warm water rather than very hot water.
Should I Cut Toenails Before or After Soaking?
A short soak can soften the surrounding skin, but drying the feet before clipping can make the nail easier to see and control.
What Is the Correct Way to Cut Toenails?
Trim them carefully with clean toenail clippers and keep the main edge relatively straight. Avoid cutting deeply into the corners or directly against the skin.
Do I Need to Cut My Toenail Cuticles?
No. You generally do not need to aggressively remove cuticles. Moisturizing and gently managing excess tissue is a more conservative approach.
How Can I Make My Feet Soft During a Pedicure?
Use gentle exfoliation, a pumice stone on appropriate rough areas, and regular foot moisturizer. Avoid aggressively removing thick skin.
What Should I Put in Pedicure Water?
Plain warm water is sufficient. If desired, you can add a small amount of mild soap. You do not need a complicated mixture.
Should I Moisturize Before Applying Toenail Polish?
Moisturizing is an important part of the pedicure, but clean the nail surface afterward. Polish adheres better to a clean, dry nail plate.
How Many Coats of Toenail Polish Should I Use?
One base coat followed by thin color coats and a top coat is a practical approach. Add another color coat only when the previous layer has dried sufficiently.
How Can I Make a Home Pedicure Last Longer?
Keep the nails clean, moisturize the feet, avoid picking at polish, protect freshly painted toenails while they dry, and use a top coat.
Can I Give Myself a Pedicure Every Week?
You can perform basic foot maintenance weekly, but you do not need intensive exfoliation, filing, or buffing every week. Excessive treatment can irritate the skin or nails.
Can I Give Someone Else a Pedicure?
Yes, but hygiene becomes especially important. Use clean tools, fresh towels, and appropriate cleaning or disinfection practices, and avoid working on damaged or potentially infected areas.
A good pedicure is ultimately about healthy-looking grooming rather than complicated beauty techniques. Start with clean feet, take care of the nails carefully, smooth rough skin gently, moisturize generously, and finish with polish if you want color. With a consistent routine, giving yourself a pedicure at home can become an easy and relaxing part of regular self-care.