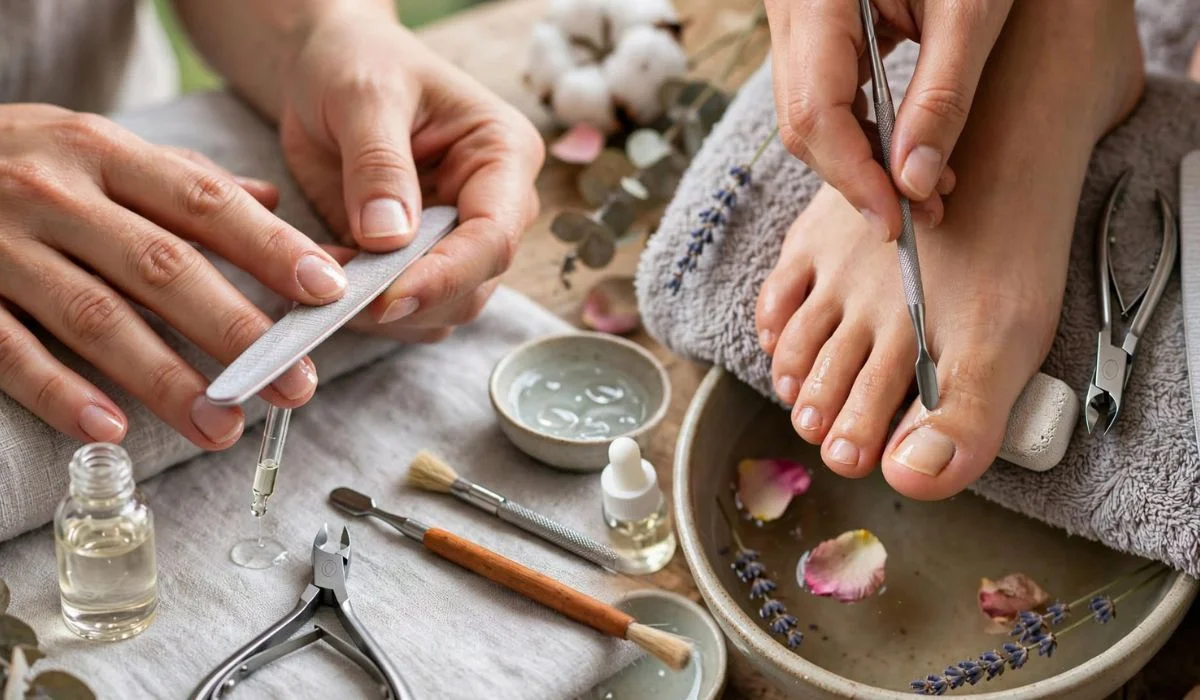
How To Do Pedicure And Manicure | Easy At-Home Beauty Guide
Learning how to do a pedicure and manicure at home can turn basic nail care into an easy beauty routine. You do not need a professional salon setup or a large collection of products. With clean tools, warm water, a few simple nail-care supplies, and enough time, you can care for your hands and feet at home.
A manicure focuses on the fingernails and hands, while a pedicure focuses on the toenails and feet. Doing both together creates a complete self-care routine that covers nail shaping, cuticle care, exfoliation, moisturizing, and polish.
The most important part is not how many products you use. Gentle techniques, clean tools, and careful nail trimming make a bigger difference.
Prepare Your Manicure and Pedicure Station
Before starting, choose a comfortable, clean surface with enough space for your supplies. You will be working with water, nail clippers, files, cotton pads, and polish, so keeping everything organized prevents unnecessary interruptions.
What You Need
A basic manicure and pedicure can be done with:
- Nail clippers
- Toenail clippers
- Nail files
- Nail buffer
- Cuticle pusher
- Cuticle oil
- Hand cream
- Foot cream
- Mild soap
- Warm water
- Two clean towels
- Nail polish remover
- Cotton pads
- Foot scrub
- Pumice stone
- Base coat
- Nail polish
- Top coat
You can simplify the list if you do not have everything. A nail clipper, file, moisturizer, clean towel, and basic polish are enough for a simple routine.
How To Do Pedicure And Manicure | Easy At-Home Beauty Guide:


Clean Your Hands and Feet First
Begin with clean skin rather than immediately trimming or polishing.
Wash your hands and feet with mild soap and comfortably warm water. Pay attention to the soles of your feet, around your toenails, between your toes, and underneath your fingernails.
Dry everything thoroughly with a clean towel.
Why Start With Clean Skin?
Hands and feet collect dirt, sweat, oils, and residue throughout the day. Cleaning them first makes the rest of the process more hygienic and allows you to see the natural shape and condition of the nails.
Remove Old Nail Polish
If you already have nail color, remove it before soaking or shaping your nails.
Place nail polish remover on a cotton pad and gently wipe each nail until the old color is gone.
Give Dark Polish Extra Attention
Red, burgundy, navy, and black polishes can leave visible residue around the nail edges. Check the corners and sides carefully before continuing.
Do not scrape aggressively at stubborn polish because this can make the surrounding skin uncomfortable.
Begin With the Manicure
It can be easier to complete your manicure first because your hands are generally easier to handle before you begin working on your feet.
Place your hands in a small bowl of comfortably warm water for about 5 minutes.
Keep the Soak Short
A short soak helps soften the skin around the nails. You do not need to leave your hands submerged for a long time.
After soaking, gently pat your hands dry rather than rubbing them aggressively.
Shape Your Fingernails
Look at your natural nail shape before cutting. You can choose a square, rounded, oval, or soft-square appearance depending on your preference.
Trim only if your nails are too long.
Popular Nail Shapes
Some easy shapes to maintain at home include:
- Round
- Oval
- Square
- Squoval
- Almond
- Short natural
Short rounded or squoval nails can be especially practical for everyday activities.
File Rather Than Over-Cut
Use a nail file to refine the edges after trimming.
Move gently and avoid repeatedly filing the same area.
Create a Consistent Shape
Instead of trying to make every nail identical from the beginning, shape each nail gradually. Compare the nails as you work so the overall appearance stays balanced.
Do not aggressively thin the nail plate with a file.
Take Care of the Cuticles
Apply a small amount of cuticle oil or moisturizer around each fingernail.
Allow it to soften the area before gently pushing back excess cuticle tissue with a clean tool.
Should You Cut the Cuticles?
You do not need to remove the cuticles completely. The cuticle area contributes to the protective seal around the nail.
Avoid deep cutting, especially if you are inexperienced. A neat appearance can usually be achieved by moisturizing and gently pushing back excess skin.
Smooth Your Hands
A manicure should care for more than just the nails.
Apply a gentle hand scrub to the palms, backs of the hands, and fingers. Massage lightly and rinse.
Simple Homemade Hand Scrub
A small amount of sugar mixed with a suitable moisturizer can create a basic DIY exfoliating treatment.
Keep the pressure light, particularly around dry or sensitive areas.
Moisturize Your Hands
Apply hand cream after exfoliating.
Massage it into your palms, fingers, knuckles, and around the nails.
Don’t Skip the Knuckles
Knuckles can become noticeably dry because the skin repeatedly bends and stretches. Give them extra attention when applying hand cream.
Move to the Pedicure
Now focus on your feet.
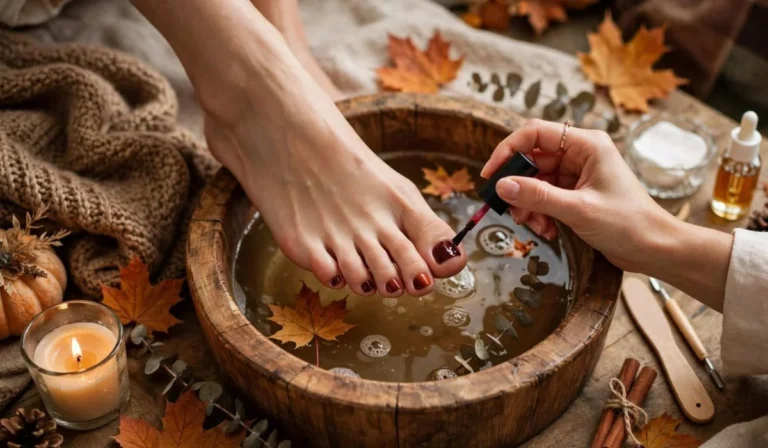
Fill a basin with comfortably warm water and soak your feet for approximately 5 to 10 minutes.
This gives you time to soften the skin before trimming, filing, and exfoliating.
Keep the Water Comfortable
The water should be warm and relaxing, not extremely hot.
Very hot water can dry or irritate the skin, so comfortable temperature is the better choice for a home pedicure.
Trim Your Toenails Correctly
Dry your feet slightly before trimming.
Toenails generally look and feel best when they are kept at a practical length rather than cut extremely short.
Use a Mostly Straight Trim
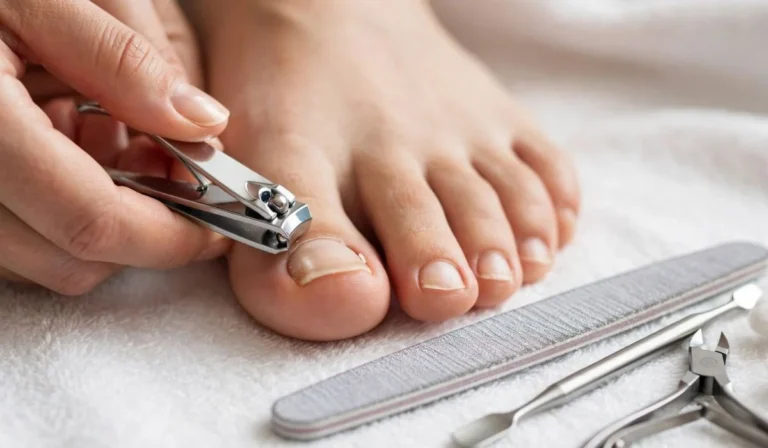
Trim toenails relatively straight across and avoid cutting deeply into the corners.
Leaving a small amount of nail beyond the skin can help prevent unnecessary tenderness.
File the Toenails
Use a toenail file to smooth sharp edges after clipping.
Work slowly around the corners without digging into them.
Choose a Comfortable Shape
A natural shape is usually easiest to maintain. There is no need to make toenails extremely rounded or pointed.
Gently Manage the Cuticle Area
Apply cuticle oil around the toenails.
Let it sit briefly, then gently push back excess skin if necessary.
Keep the Technique Gentle
Do not force a cuticle pusher underneath the skin. You are tidying the nail area, not removing every piece of surrounding tissue.
Exfoliate Your Feet
This is one of the biggest differences between a manicure and pedicure.
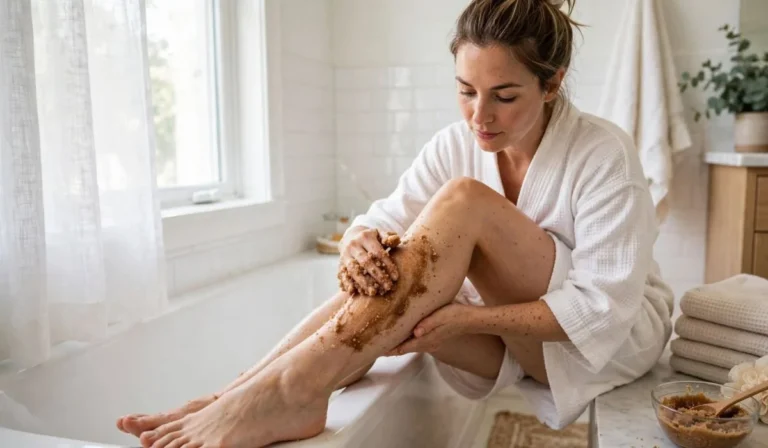
Apply foot scrub to the soles, heels, and other rough areas.
Massage gently and rinse thoroughly.
Concentrate on High-Pressure Areas
The heels and balls of the feet often develop rough skin because they experience repeated pressure during walking and standing.
You do not need to scrub the entire foot equally.
Smooth Rough Heels
If your heels feel rough, use a pumice stone or gentle foot file after soaking.
Work lightly and stop if the skin becomes sore or irritated.
Avoid Sharp Tools
Never use a razor or blade to cut away calluses during a routine home pedicure.
Removing too much thickened skin can cause injury and does not address the reason the area became rough.
Read Next: How To Pedicures | Easy Step-by-Step Guide for Beautiful Feet
Dry Your Feet Completely
Rinse away the scrub and dry your feet carefully.
Pay particular attention to the spaces between your toes.
Why Drying Matters
Moisture trapped between the toes can create an environment where unwanted skin problems are more likely to develop. Drying thoroughly is a simple but important part of foot hygiene.
Apply Foot Cream
Massage a rich moisturizer into the soles, heels, toes, and sides of your feet.
Spend a little extra time on rough heels.
Try an Overnight Foot Treatment
For particularly dry heels, apply foot cream before bed and put on clean cotton socks.
This can help keep the moisturizer against the skin for longer.
Avoid applying heavy cream between the toes if that area tends to remain moist.
Prepare Nails Before Applying Polish
Whether you are doing a manicure or pedicure, polish works best on clean, dry nail plates.
If moisturizer or cuticle oil has reached the nails, gently remove the oily residue with nail polish remover.
Why Nail Preparation Matters
Oils can interfere with polish adhesion. A clean surface helps create a smoother and more durable finish.
Apply Base Coat
Start with a thin layer of base coat.
Allow it to dry according to the product instructions.
A base coat can provide a smoother foundation for color and may help prevent some staining from strongly pigmented polishes.
Apply Your Nail Color
Choose one shade for both hands and feet or coordinate complementary colors.
Popular choices include:
- Nude
- Pink
- White
- Red
- Burgundy
- Brown
- Lavender
- Blue
- Coral
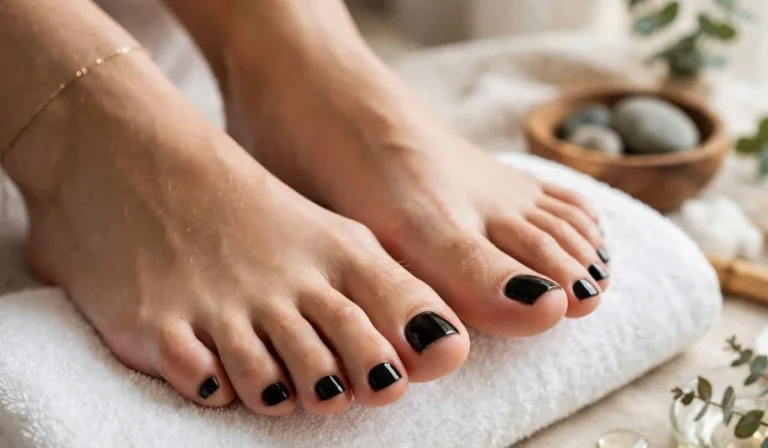
- Black
Use Thin Coats
Two thin coats are generally easier to control than one very thick coat.
Let each layer dry enough before adding another.
Coordinate Your Manicure and Pedicure
Matching does not necessarily mean using exactly the same color.
You can create a coordinated appearance with different shades from the same color family.
Neutral Hands and Bold Toes
Keep fingernails nude or pale pink while using red, burgundy, or another stronger color on the toes.
Matching French Style
Use a French manicure on your hands and a French pedicure on your toes for a classic coordinated look.
Same Color, Different Finish
Try a glossy shade on your fingernails and a similar color with subtle glitter or a decorative accent on your big toenails.
Add Simple Nail Art
You can make a home manicure or pedicure more interesting without complicated tools.
Tiny Dots
Use the tip of a dotting tool, toothpick, or similar clean tool to create small dots.
Accent Nail
Choose one fingernail or the big toenail for glitter, a small flower, a French tip, or another simple detail.
Minimal Lines
A thin contrasting line across a neutral nail can create a clean modern appearance.
Simple designs are often easier to maintain than detailed nail art.
Finish With Top Coat
Apply a thin layer of top coat once your color has set sufficiently.
A top coat can add shine and provide an additional protective layer.
Allow Plenty of Drying Time
Do not immediately perform activities that put pressure on freshly painted nails.
For toenails, avoid tight shoes immediately after polishing whenever possible.
Clean Up the Edges
If polish gets onto the surrounding skin, use a small brush or cotton swab with nail polish remover to clean the edges.
Do this carefully instead of repeatedly wiping the entire nail.
Maintain Your Results Between Sessions
A good manicure and pedicure does not need to be completely repeated every few days.
Small maintenance habits can keep your hands, feet, and nails looking neat.
Simple Maintenance Routine
During the week:
- Moisturize your hands regularly
- Apply foot cream to dry areas
- Keep toenails at a comfortable length
- Remove chipped polish
- Use cuticle oil when the skin feels dry
- Keep feet clean and dry
- Avoid picking at peeling polish
Facts About Manicures and Pedicures
Fingernails and toenails are primarily made from keratin, a strong protein also found in hair and the outer layer of skin.
Fingernails generally grow faster than toenails, which is one reason toenail length changes more slowly.
Nails can appear different in color or texture for many reasons, so polish should not be used to hide a persistent or unusual change.
Dry skin is often more noticeable on the heels because these areas experience repeated pressure and friction.
Exfoliation removes surface dead skin cells, but it does not mean that all rough skin should be removed.
Moisturizing supports the skin barrier and can make dry hands and feet feel softer.
Mistakes to Avoid During a DIY Manicure and Pedicure
Cutting Nails Too Short
Avoid trimming nails down to the surrounding skin. A little length provides a more comfortable margin.
Over-Buffing
Excessive buffing can thin the nail plate. Use a buffer sparingly and gently.
Cutting Cuticles Deeply
Aggressive cuticle cutting can injure the surrounding skin. Gentle maintenance is usually sufficient.
Over-Exfoliating
Scrubbing harder does not necessarily produce smoother feet. Stop if the skin becomes irritated.
Using Dirty Tools
Clean your personal nail tools after use and allow them to dry properly.
Polishing Wet or Oily Nails
Water and oils can interfere with polish application. Give the nails time to become clean and dry.
How Often Should You Do a Manicure and Pedicure?
The ideal schedule depends on how quickly your nails grow, how dry your skin becomes, and how frequently you wear polish.
Basic moisturizing can be done daily. Nail shaping can be performed when needed, while a complete manicure or pedicure can be done every few weeks.
You do not need to aggressively exfoliate or buff every time.
When Home Nail Care Is Not the Right Choice
A cosmetic manicure or pedicure is designed for grooming, not for treating medical conditions.
If you notice persistent nail discoloration, significant swelling, severe pain, an open wound, drainage, or other unusual changes, avoid covering the area with polish and consider professional advice.
People with conditions affecting foot sensation, circulation, or wound healing should also ask a healthcare professional about appropriate nail and foot-care methods.
Make the Routine Simple Enough to Repeat
The best manicure and pedicure routine is one you can comfortably maintain.
You do not need twenty products, elaborate nail art, or a professional foot spa. Clean tools, careful trimming, gentle exfoliation, regular moisturizing, and patient polish application can create a polished result.
With practice, you can also adjust the routine to suit different seasons, nail lengths, colors, and personal styles.
FAQs About Manicure and Pedicure
What Is the Difference Between a Manicure and a Pedicure?
A manicure focuses mainly on the hands and fingernails, while a pedicure focuses on the feet and toenails. Both can include nail shaping, cuticle care, exfoliation, moisturizing, and polish.
Should I Do My Manicure or Pedicure First?
Either order can work. Many people prefer doing the manicure first and then the pedicure, but you can choose whichever feels more comfortable.
How Long Should I Soak My Hands and Feet?
Around 5 minutes for hands and 5 to 10 minutes for feet is generally enough for a basic home routine. Longer soaking is not necessary.
Can I Do a Manicure and Pedicure on the Same Day?
Yes. Doing both together can create a complete at-home nail-care session.
Should I Cut My Cuticles?
You generally do not need to cut them deeply. Softening and gently pushing back excess cuticle tissue is a more conservative approach.
How Can I Make My Feet Soft at Home?
Regular moisturizing, gentle exfoliation, and occasional use of a pumice stone on rough areas can help keep feet feeling softer.
How Can I Make Nail Polish Last Longer?
Use clean, dry nails, apply thin coats, allow sufficient drying time, and finish with a top coat.
Can I Use the Same Nail File for Hands and Feet?
It is better to keep personal tools clean and, when practical, use separate files for fingernails and toenails. Never share personal nail tools without appropriate cleaning and disinfection.
Is a DIY Manicure and Pedicure Safe?
For most people, basic cosmetic nail care can be performed at home when tools are clean and techniques are gentle. Avoid aggressive cutting, sharp tools, and working over damaged skin.
How Often Should I Moisturize My Hands and Feet?
Moisturizing can be part of your regular routine, especially after washing or whenever the skin feels dry. Heavier foot cream can be useful for dry heels.
Can I Apply Polish Immediately After a Foot Cream?
It is better to keep the nail plate free from oily cream before polishing. Clean and dry the nail surface first.
What Should I Do If I Accidentally Cut the Skin?
Stop the pedicure or manicure and gently clean the area. Avoid applying polish over an open or irritated area until it has healed.
A home manicure and pedicure can be both practical and relaxing when you focus on simple, consistent care. Shape the nails carefully, treat the surrounding skin gently, moisturize regularly, and use polish as the final decorative step. With a little practice, the entire routine can become an easy part of your regular self-care schedule.