Manicure At Home Step By Step Easy DIY | Simple Guide for Beautiful Nails
You do not need to visit a salon every time you want clean, beautiful, and polished nails. With a few basic supplies and the right technique, you can create an easy DIY manicure at home. A simple manicure can make your nails look neat while giving your hands a fresh and well-groomed appearance.
Learning how to do a manicure at home step by step is also useful when you want to save time, try new nail colors, or create simple nail art yourself. The process can be as simple as trimming and shaping your nails, caring for the surrounding skin, moisturizing your hands, and applying polish.
Follow this easy DIY manicure routine for a simple at-home nail-care session.
What You Need for a DIY Manicure?
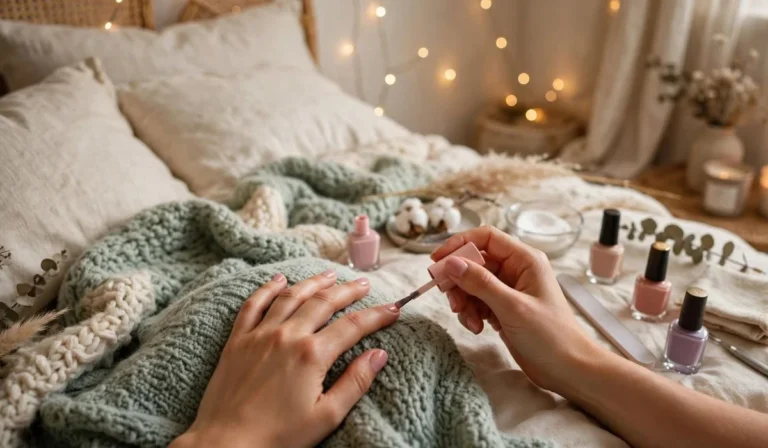
Gather everything before you begin so you do not have to interrupt the process.
Basic Supplies
You will need a nail clipper, nail file, cuticle pusher, hand moisturizer, cuticle oil, base coat, nail polish, and top coat.
Optional Nail-Art Supplies
For simple designs, you can also keep a dotting tool, thin nail-art brush, nail stickers, makeup sponge, and a few coordinating polish colors nearby.
Step 1: Remove Old Nail Polish
Start with completely clean nails. If you are wearing old polish, remove it gently with an appropriate nail-polish remover.
Take Your Time
Avoid aggressively scraping polish from the nail surface. Once the old color has been removed, wash your hands and dry them thoroughly.
Step 2: Wash and Clean Your Hands
Wash your hands with soap and water to remove leftover polish remover, oils, and dirt.
Dry the Nails Thoroughly
Pay attention to the areas around and underneath the nails. Your nails should be clean and dry before you begin shaping them.
Step 3: Trim Your Nails
If your nails are longer than you want, use a nail clipper to shorten them.
Keep a Little Length
Avoid cutting extremely close to the skin. Leaving a small free edge makes filing and shaping easier.
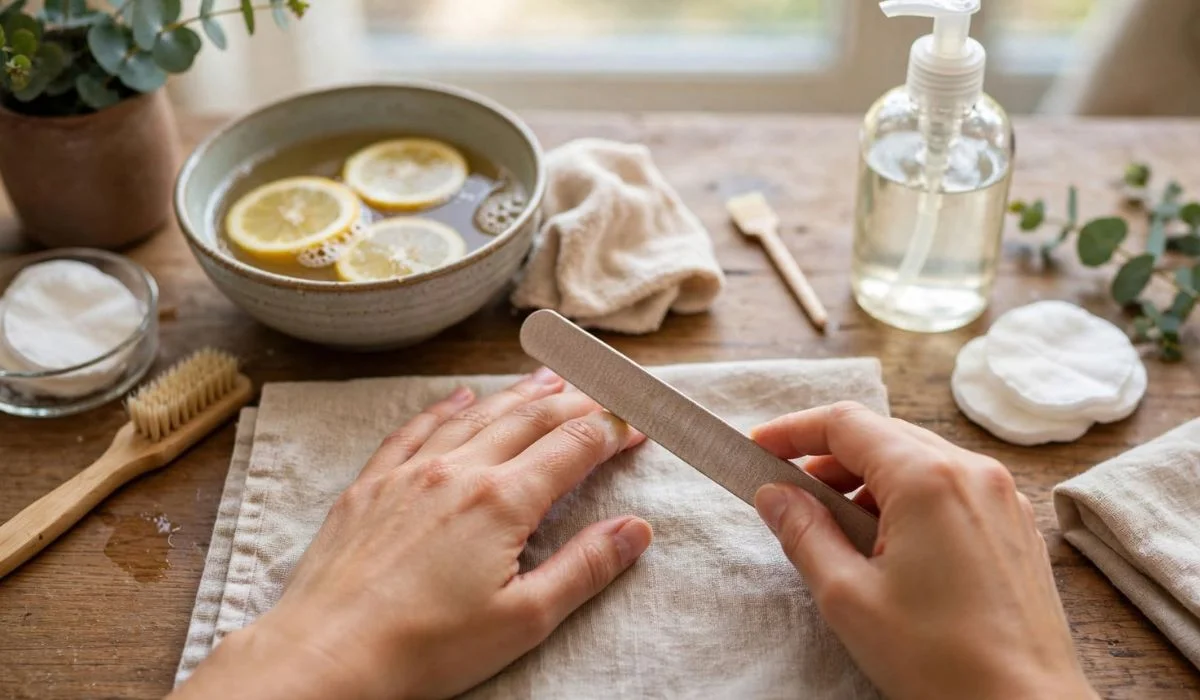
Step 4: File and Shape Your Nails
Use a nail file to smooth rough edges and create your preferred shape.
Easy Nail Shapes
Round and squoval shapes are practical for beginners. Oval and almond shapes can create a more elongated appearance, while square nails have a clean, structured look.
Step 5: Soften the Cuticle Area
Apply cuticle oil or use a suitable warm-water soak for a short period to soften the surrounding skin.
Keep the Process Gentle
Do not aggressively cut, pull, or pick at your cuticles. The cuticle area provides a protective barrier around the nail.
Step 6: Gently Push Back the Cuticles
Use a clean cuticle pusher and gently move back only the loose cuticle tissue.
Avoid Excessive Pressure
If the area feels painful or irritated, stop rather than forcing it. Healthy nail care should not require aggressive pressure.
Step 7: Lightly Buff the Nails
If your nail surface has minor unevenness, you can gently buff it with a suitable nail buffer.
Do Not Over-Buff
Buffing too frequently or aggressively can thin the natural nail. A light touch is enough when buffing is needed.
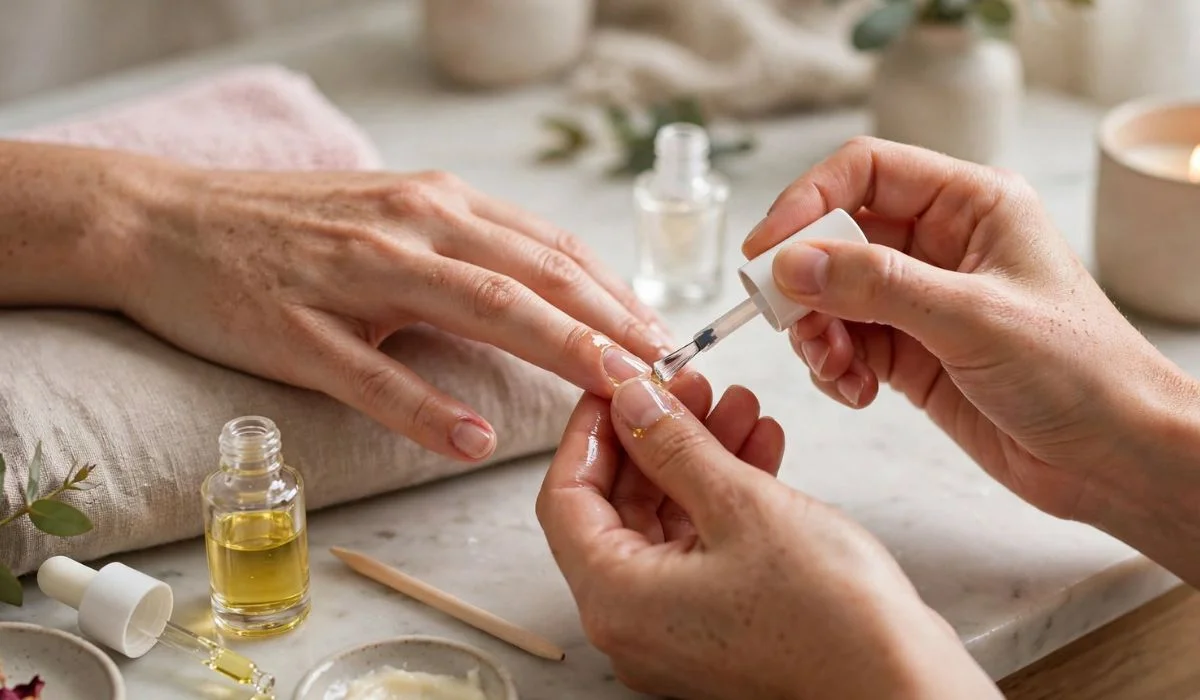
Step 8: Apply Cuticle Oil
Massage a small amount of cuticle oil around each nail.
Why Cuticle Oil Helps
Regular moisturizing can help the skin around the nails feel softer and look more conditioned, particularly when your hands become dry.
Step 9: Moisturize Your Hands
Apply hand cream and massage it into your palms, fingers, and around the nails.
Clean the Nail Surface Again
Before applying polish, remove excess moisturizer or oil from the nail plate. Polish generally adheres better to a clean, dry surface.
Step 10: Apply a Base Coat
Apply a thin layer of base coat to each nail.
Keep the Layer Thin
A base coat can create a smoother surface for polish and may help reduce staining from some pigmented colors.
Step 11: Apply Your Nail Color
Choose your favorite polish color and apply a thin first coat.
Leave a Small Border
Try not to flood the cuticle area. Leaving a tiny gap between the polish and surrounding skin can create a cleaner finish.
Step 12: Add a Second Coat
After the first coat has dried sufficiently, apply another thin layer if the color needs additional coverage.
Avoid Thick Layers
Several controlled thin layers generally provide better results than applying a large amount of polish at once.
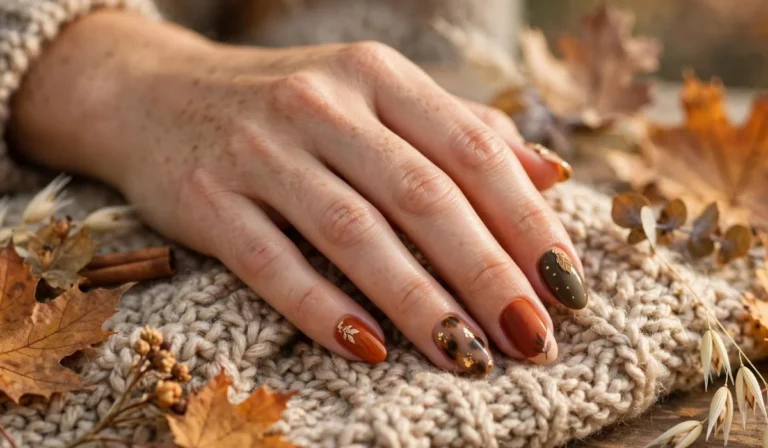
Step 13: Create Simple DIY Nail Art
Once the base color is ready, you can add an easy design.
Try Tiny Dots
Use a dotting tool or another suitable tool to create dots in a contrasting color.
Try Simple French Tips
Use a thin nail-art brush or French-tip guides to create a curved line across the nail edge.
Add Small Flowers
Create five tiny dots around a center dot to make a simple flower. This is one of the easiest nail-art techniques for beginners.
Use Nail Stickers
Nail stickers and decals can add detailed designs without requiring advanced painting skills.
Step 14: Apply Top Coat
Finish the manicure with a suitable top coat.
Seal the Design
Apply a thin, even layer over the polish and nail art. Follow the product’s drying or curing instructions.
Step 15: Let Your Manicure Dry
Give your nails enough time to dry completely before doing activities that could cause dents or smudges.
Be Patient
Even when the surface feels dry, deeper layers may still be setting. Avoid immediately washing dishes, cleaning, or doing tasks that put pressure on freshly painted nails.
Easy DIY Manicure Ideas
Once you know the basic steps, you can experiment with simple designs.
Glossy Nude Nails
Use a nude or beige polish with a glossy top coat for an easy everyday manicure.
Soft Pink Nails
A sheer or soft pink shade gives a clean and delicate appearance without complicated nail art.
Classic French Tips
Combine a sheer nude base with white tips for a timeless manicure.
Pastel Nails
Try lavender, mint, baby blue, peach, and pale yellow. You can use one shade on every nail or create a different pastel nail on each finger.
Minimalist Dots
Apply one or two tiny dots near the cuticle area. This creates a simple design with very little effort.
Easy Manicure for Short Nails
Short nails are particularly easy to maintain at home.
Best Designs for Short Nails
Try solid glossy colors, micro French tips, tiny flowers, small hearts, minimalist lines, and pastel shades.
Keep the Details Small
Large patterns can overwhelm a short nail. Small decorative elements usually create a more balanced appearance.
Easy Manicure for Beginners
If this is your first DIY manicure, keep the routine simple.
Start With One Color
A single solid color is easier to apply evenly than complicated nail art.
Practice on One Accent Nail
If you want to experiment with nail art, decorate one or two nails instead of all ten.
Choose Easy Tools
A basic nail file, polish brush, dotting tool, and cleanup brush are enough for many beginner designs.
Read Next: Manicure At Home Aesthetic | Simple, Chic & Beautiful Nail Ideas
Common DIY Manicure Mistakes:
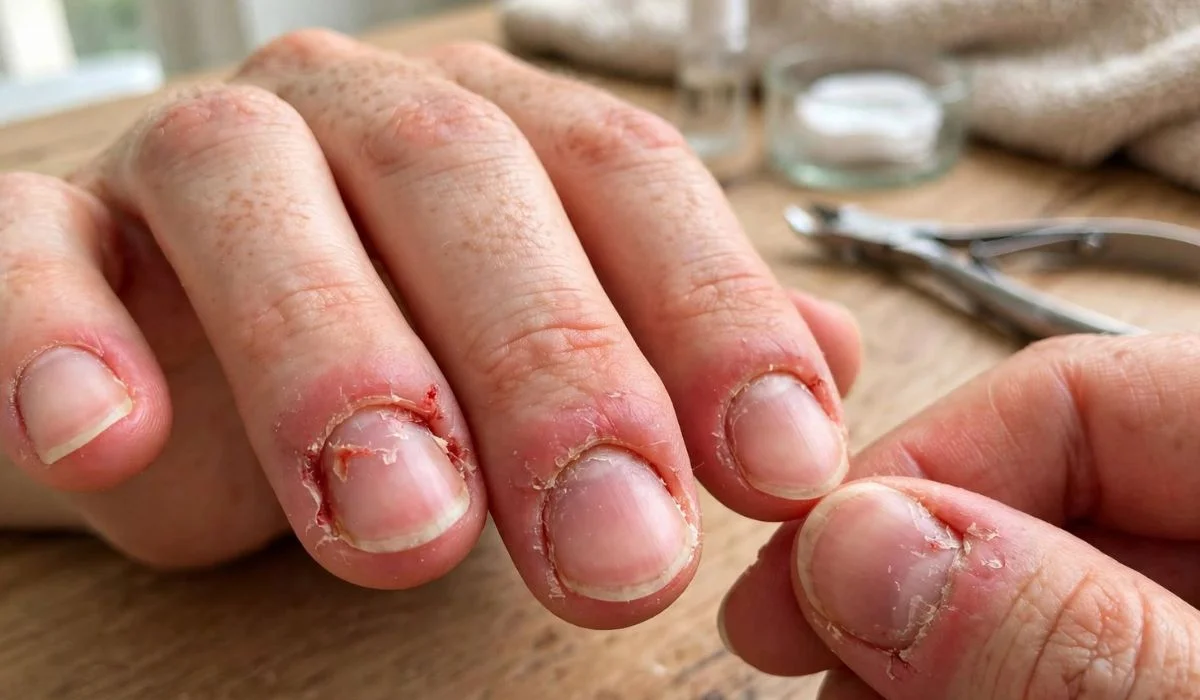
Avoiding a few common mistakes can make your manicure look much cleaner.
Applying Too Much Polish
Thick polish can take longer to dry and may create an uneven finish.
Painting Over the Cuticles
Polish that spreads onto the surrounding skin can make the manicure look messy. Use controlled strokes and clean small mistakes before the polish fully sets.
Skipping the Base Coat
A base coat can provide a smoother foundation and may help reduce staining from certain nail colors.
Touching Wet Nails
Touching freshly painted nails can cause dents, fingerprints, and smudges. Give each layer adequate time to dry.
Peeling Off Old Polish
Do not peel or scrape away stubborn polish aggressively. Use an appropriate removal method instead.
How to Make Your DIY Manicure Last Longer
A few simple habits can help preserve your manicure.
Protect Your Hands
Wear suitable gloves when washing dishes, cleaning, or working with household products.
Moisturize Regularly
Apply hand cream and cuticle oil regularly to keep the skin around your nails comfortable and conditioned.
Avoid Using Nails as Tools
Do not use your nails to open cans, scrape surfaces, or pry objects. These habits can contribute to chips and breaks.
Refresh the Top Coat
Depending on the product, applying another compatible top coat after a few days can help maintain shine and protection.
How Often Can You Do a Manicure at Home?
There is no single schedule that works for everyone. Many people perform basic nail maintenance whenever their nails become uneven or the polish begins to wear.
A full polish manicure can be refreshed when needed, while frequent aggressive filing, buffing, or cuticle cutting should be avoided.
When to Skip a DIY Manicure
Cosmetic nail care should not be used to cover a potentially serious nail or skin problem.
Irritated Skin
If the skin around the nail is significantly irritated, wounded, or painful, allow it to recover before doing a manicure.
Unusual Nail Changes
If you notice persistent swelling, pain, drainage, major discoloration, or other unusual changes, consider getting appropriate professional advice rather than applying cosmetic products over the area.
Frequently Asked Questions
How do I do a manicure at home step by step?
Start by removing old polish, washing and drying your hands, trimming and shaping the nails, gently caring for the cuticles, moisturizing, applying a base coat, adding polish, finishing with a top coat, and allowing everything to dry properly.
What is the easiest DIY manicure for beginners?
A simple nude, pink, beige, or milky white manicure is one of the easiest options. You can add tiny dots or a simple French tip once you become more comfortable.
Can I do a professional-looking manicure at home?
Yes. Careful nail preparation, consistent shaping, thin polish layers, controlled application, and a clean top coat can make an at-home manicure look polished.
How many coats of nail polish should I use?
Two thin color coats are often enough, although the ideal number depends on the polish’s pigmentation and formula. Allow appropriate drying time between coats.
Should I soak my nails before a manicure?
A brief soak can soften surrounding skin, but prolonged soaking is generally unnecessary. You can also use cuticle oil or a suitable cuticle-softening product.
How do I keep nail polish from getting on my skin?
Use small amounts of polish and controlled brush strokes. Leave a narrow margin around the cuticle rather than trying to paint directly against the skin.
How long should I let my manicure dry?
Drying time varies by product, number of layers, and environmental conditions. Follow the instructions on the polish and top coat, and avoid activities that can dent the manicure until it has fully set.
What is the best nail shape for beginners?
Round and squoval shapes are relatively easy to maintain at home. They can also be practical for people who prefer shorter nails.