How To Pedicure At Home Step By Step | Easy DIY Guide
Learning how to pedicure at home step by step can help you keep your feet clean, smooth, and polished without needing a salon appointment. A basic home pedicure does not require complicated equipment. With a few simple tools, you can trim and shape your toenails, care for dry skin, moisturize your feet, and finish with your favorite nail color.
The key is to work gently and avoid cutting the skin or removing too much of the cuticle.
What You Need for a Home Pedicure
Before starting, gather everything you need so you do not have to stop halfway through the process.
- Nail polish remover
- Cotton pads
- Nail clippers
- Nail file
- Nail buffer
- Foot basin or large bowl
- Warm water
- Mild soap or foot soak
- Foot scrub
- Pumice stone or foot file
- Cuticle pusher
- Cuticle oil
- Foot moisturizer
- Base coat
- Nail polish
- Top coat
- Clean towel
You can complete a basic pedicure without every item on this list. For example, a soft washcloth can be used instead of a scrub, and a nail file is more important than a buffer.
How To Pedicure At Home Step By Step:


Step 1: Remove Old Nail Polish
Start by removing any existing polish from your toenails.
Soak a cotton pad with nail polish remover and gently wipe each nail until the old color is gone.
Check the Toenails
Once the polish is removed, look at each toenail before continuing.
Check for unusual discoloration, swelling, pain, or changes in the nail. If something looks concerning or does not improve, consider getting professional medical advice rather than covering it with polish.
Step 2: Soak Your Feet
Fill a clean basin with comfortably warm water.
Add a small amount of mild soap or a gentle foot soak and place your feet in the water for about 5–10 minutes.
The warm water helps soften the skin and makes the rest of the pedicure easier.
Avoid Very Hot Water
The water should feel comfortably warm rather than hot.
Very hot water can dry or irritate the skin, especially if your feet are already dry.
Step 3: Clean Your Feet
After soaking, gently wash your feet.
Pay attention to the spaces between your toes and around the toenails. Rinse away soap and use a clean towel to pat your feet dry.
Make sure the spaces between your toes are properly dried before moving on.
Step 4: Exfoliate Your Feet
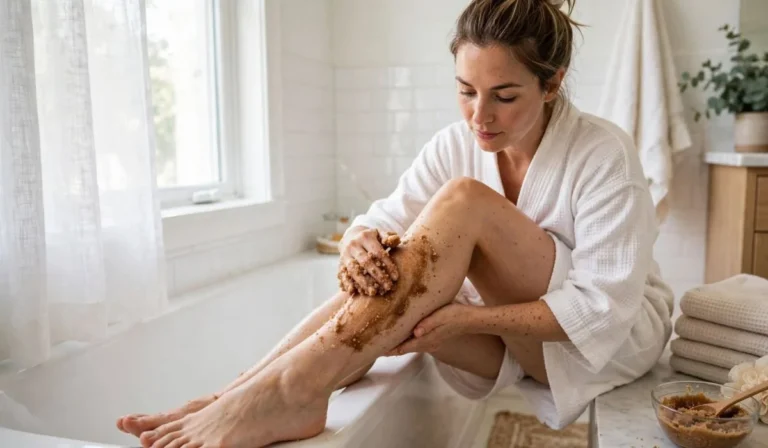
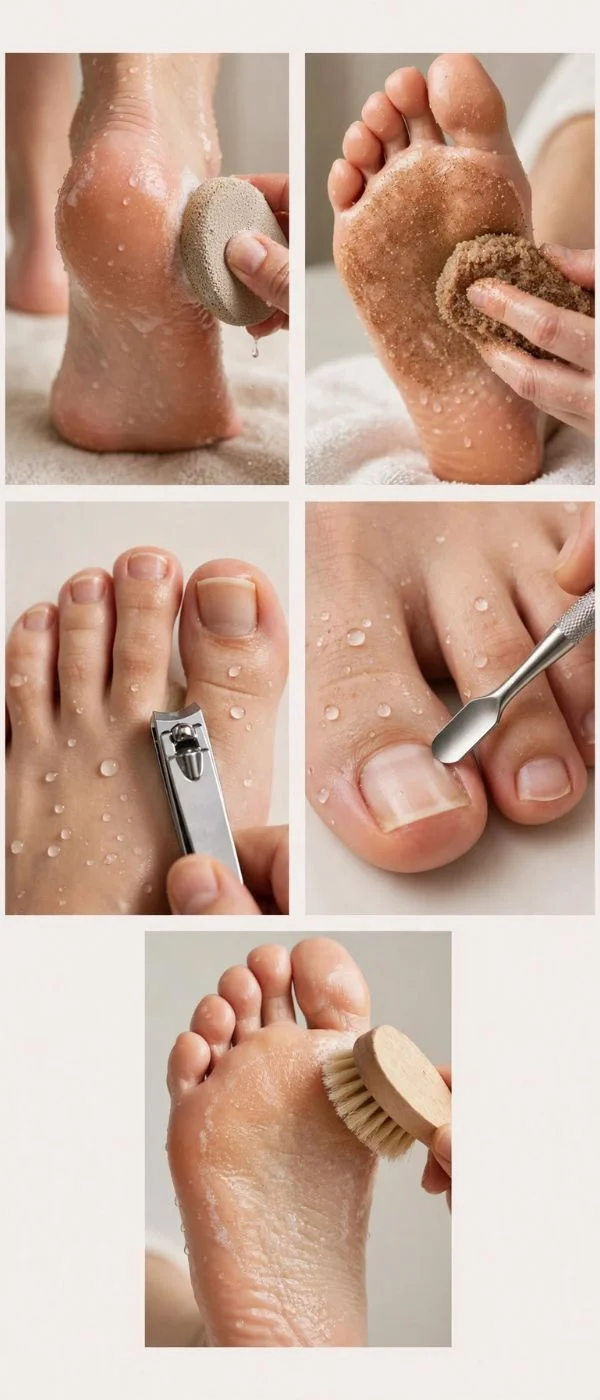
Apply a gentle foot scrub to remove loose, flaky skin.
Massage the scrub over the heels, soles, sides of the feet, and other rough areas using gentle circular movements.
Do not aggressively scrub cracked or irritated skin.
Focus on Rough Areas
The heels and balls of the feet often become rough because they experience regular pressure and friction.
Spend a little extra time on these areas, but avoid excessive rubbing.
Step 5: Use a Pumice Stone
If you have thick, rough skin on your heels, gently use a pumice stone or foot file.
Wet the stone first and lightly move it over rough areas.
Do not try to remove all hardened skin in one session. Over-filing can irritate the skin and may cause discomfort.
Read next: 40 Black Pedicure
Step 6: Rinse and Dry Your Feet
Rinse away any remaining scrub and gently dry your feet with a clean towel.
Pay special attention to the spaces between your toes.
Your feet should be completely dry before you begin trimming and shaping your toenails.
Step 7: Trim Your Toenails
Use clean toenail clippers to trim your nails.
Cut the toenails relatively straight across rather than cutting deeply into the corners.
Do Not Cut Toenails Too Short
Leaving a little length can help protect the skin at the end of the toe.
Avoid digging the clippers into the sides of the nail because this can irritate the surrounding skin.
Step 8: File the Toenails
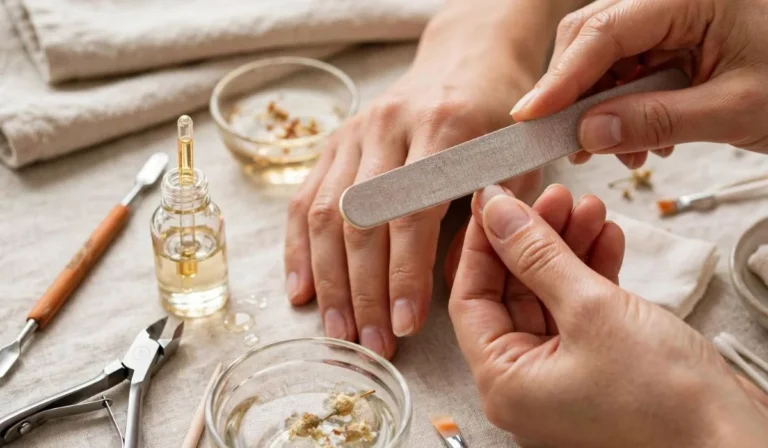
Use a nail file to smooth rough edges after clipping.
File gently in one direction rather than aggressively sawing back and forth.
You can choose a square, squoval, or naturally rounded shape, but avoid creating very sharp corners.
Step 9: Gently Care for the Cuticles
Apply a small amount of cuticle oil around each toenail.
Let it sit for a short time, then gently push the cuticles back with a clean cuticle pusher if needed.
Avoid Cutting Cuticles
Cutting the cuticle can cause small injuries and increase the chance of irritation or infection.
For a simple home pedicure, gently pushing the cuticle back is usually enough.
Step 10: Buff the Nail Surface
If desired, lightly buff the surface of each toenail.
Use gentle pressure and only buff enough to smooth obvious ridges.
Do Not Over-Buff
The natural nail has protective layers. Excessive buffing can make the nail thinner and more fragile.
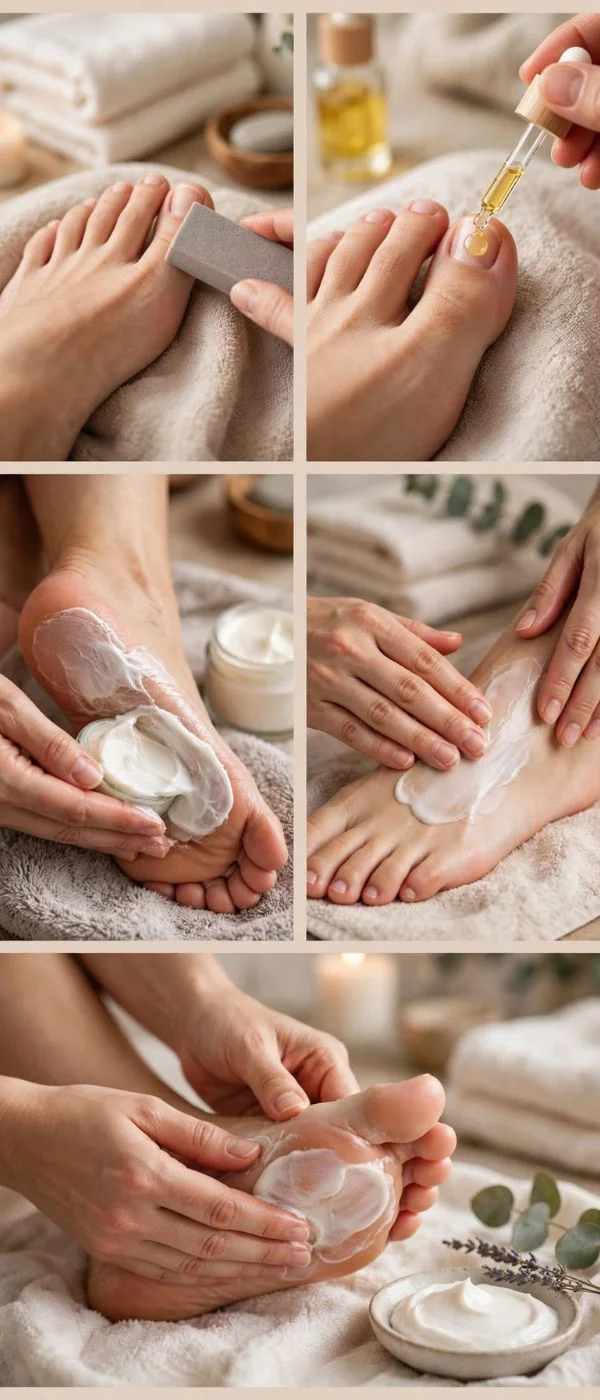
Step 11: Moisturize Your Feet
Apply a rich foot cream or moisturizer to your feet.
Massage it into the heels, soles, sides, and tops of your feet.
Avoid leaving a heavy layer of moisturizer on the nail plate if you plan to apply polish immediately.
Step 12: Clean the Toenails Before Polish
Before applying nail polish, remove oil and moisturizer from the nail surface.
Use a small amount of nail polish remover on a cotton pad and gently wipe the toenails.
This helps create a cleaner surface for the polish.
Step 13: Apply Base Coat
Apply a thin layer of base coat to each toenail.
A base coat can create a smoother surface and can help reduce staining from strongly pigmented colors.
Allow it to dry according to the product instructions.
Step 14: Apply Your First Layer of Nail Polish
Choose your favorite pedicure color and apply a thin layer.
Start near the base of the nail without flooding the surrounding skin, then brush toward the tip.
Do not worry if the first layer looks slightly transparent.
Let the First Coat Dry
Give the first coat enough time to set before applying another.
A thin second coat usually produces a more even color than one thick coat.
Step 15: Apply the Second Coat
Apply another thin layer of polish.
The second coat should build the color and improve coverage.
If polish gets onto the surrounding skin, wait until it has dried and carefully clean the edges with a small brush or cotton swab.
Step 16: Add Simple Nail Art
If you want a decorative pedicure, now is the time to add simple details.
Try:
- Tiny dots
- French tips
- Flowers
- Leaves
- Glitter
- Metallic lines
- Hearts
- Simple abstract shapes
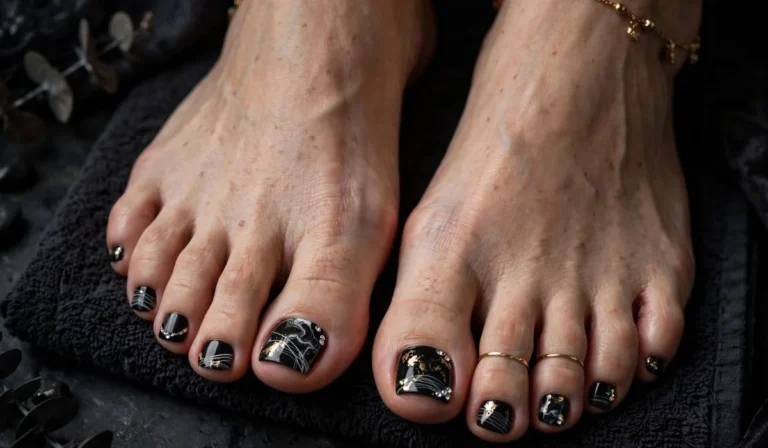
For toenails, detailed artwork usually works best on the big toes because they provide the most space.
Step 17: Apply Top Coat
Once your color or nail art has set, apply a thin layer of top coat.
A top coat can add shine and help protect the polish from everyday wear.
Apply it carefully over the entire nail.
Step 18: Clean the Edges
If you have polish around the skin, use a small cleanup brush or cotton swab with nail polish remover.
Work carefully around the edges without disturbing the finished nail.
Step 19: Let Your Pedicure Dry
Give your toenails enough time to dry before putting on tight shoes or socks.
Avoid activities that could press against the nails while the polish is still soft.
Give Your Toes Some Space
If possible, wear open-toed footwear while the pedicure finishes drying.
This reduces the chance of smudging the polish.
Step 20: Finish With Cuticle Oil
Once the polish is completely dry, apply a small amount of cuticle oil around the toenails.
This can help keep the surrounding skin moisturized and gives the finished pedicure a neat appearance.
How Often Should You Do a Pedicure at Home?
There is no single schedule that works for everyone.
A simple maintenance pedicure can be done when your polish grows out, chips, or your toenails need trimming.
Exfoliation does not need to be aggressive or frequent. If your feet become irritated or unusually dry after exfoliating, reduce how often you do it.
How to Make a Home Pedicure Last Longer
Keep your toenails protected from unnecessary friction.
Use a top coat to help protect the polish and touch up the top coat when appropriate.
Wear comfortable shoes that do not constantly rub against your toes.
Moisturize your feet regularly, especially around dry heels.
Avoid picking or peeling chipped polish because this can remove layers of the nail surface.
Easy Pedicure Colors to Try at Home
If you are doing your own pedicure, some colors are easier to manage than highly detailed designs.
Classic Colors
Try nude, pink, white, red, burgundy, brown, or black.
Seasonal Colors
For fall, try chocolate brown, burnt orange, olive, burgundy, or rust.
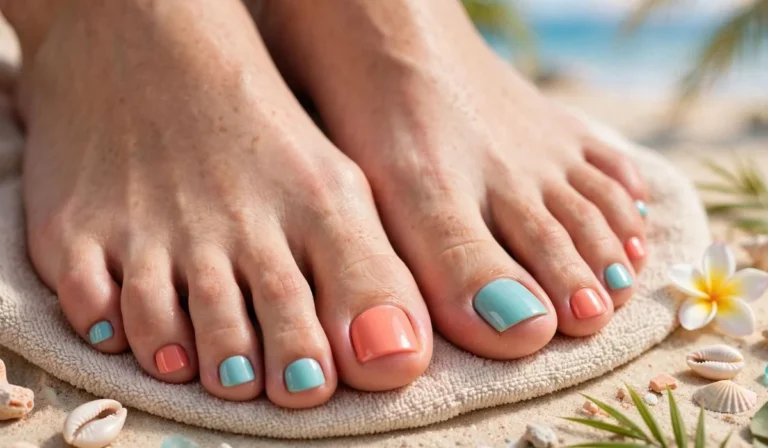
For spring, try lavender, pastel pink, mint, peach, or baby blue.
For summer, try coral, bright pink, turquoise, yellow, or white.
Common Home Pedicure Mistakes
Cutting Toenails Too Short
Very short toenails can leave the surrounding skin more vulnerable to irritation.
Filing Too Aggressively
Excessive filing can irritate both the nail and surrounding skin.
Removing Too Much Callused Skin
Trying to make the feet completely smooth in one session can lead to irritation.
Applying Thick Polish Coats
Thick layers take longer to dry and can smudge more easily.
Skipping the Base Coat
Dark or highly pigmented polish may stain natural nails, so a base coat is useful when wearing these shades.
Home Pedicure Safety Tips
Use clean tools and avoid sharing personal nail tools without proper cleaning and disinfection.
Do not cut into the skin around the toenails.
Avoid aggressive scraping, especially if the skin is cracked, irritated, or bleeding.
If you have a medical condition that affects circulation, sensation, healing, or the feet, ask a healthcare professional about safe foot-care practices before doing an at-home pedicure.
If you notice persistent pain, swelling, drainage, significant redness, or a concerning nail change, seek appropriate medical advice instead of attempting to treat the problem with a cosmetic pedicure.
FAQs About How to Pedicure at Home
How do I pedicure my feet at home step by step?
Start by removing old polish, soaking and cleaning your feet, exfoliating gently, smoothing rough areas, trimming and filing your toenails, caring for the cuticles, moisturizing, then applying base coat, polish, and top coat.
How long should I soak my feet before a pedicure?
About 5–10 minutes is generally enough for a basic home pedicure. Use comfortably warm water rather than very hot water.
Should I cut my toenails before or after soaking?
Either approach can work, but many people find the nails easier to trim after a short soak because they are softer. Dry your feet thoroughly before trimming.
Should toenails be cut straight across?
Generally, trimming toenails relatively straight across is a good approach. Avoid cutting deeply into the corners or making them excessively short.
Should I cut my cuticles during a pedicure?
It is generally better to avoid cutting the cuticle. Gently pushing it back and using cuticle oil can provide a neat appearance without cutting the surrounding tissue.
How can I make my feet soft at home?
Gentle exfoliation, careful use of a pumice stone on rough areas, and regular moisturizing can help keep feet feeling softer.
How long does a home pedicure take?
A basic home pedicure can take around 30–60 minutes depending on how much exfoliation, nail art, and drying time you include.
What should I put on my toes before nail polish?
After moisturizing your feet, clean the nail plates to remove oils and residue before applying base coat and polish.
How many coats of nail polish should I use?
Usually one base coat, two thin color coats, and one top coat provide a good starting point. Follow the specific polish manufacturer’s instructions.
How can I prevent my pedicure from smudging?
Use thin polish layers, allow enough drying time between coats, and avoid tight shoes until the polish has fully set.
Can I do a pedicure without a foot spa?
Yes. A clean basin or large bowl filled with comfortably warm water works perfectly well for a basic home pedicure.
What is the easiest pedicure for beginners?
A solid-color pedicure is usually the easiest. Start with a clean nail shape, one base coat, two thin color coats, and a top coat before trying nail art.